Installing Roundcube Email Client on Virtualmin and Configuring the Password Plugin
Some technical terms
Virtualmin — is a domain hosting and website control panel, which gives the ability to create and manage many domains.
Email Client — A web application which provides message management, composition, and reception functions may act as a web email client, and a piece of computer hardware or software whose primary or most visible role is to work as an email client may also use the term.
RoundCube — is a web-based IMAP email client. RoundCube’s most prominent feature is the pervasive use of Ajax technology. RoundCube is free and open-source software subject to the terms of the GNU General Public License (GPL), with exceptions for skins and plugins.
Plugin — In computing, a plug-in is a software component that adds a specific feature to an existing computer program. When a program supports plug-ins, it enables customization.
Installing Roundcube on Virtualmin
So you’re able to install your Virtualmin successfully and you already created your new virtual server. Now you want to have an access to your email via web browser. To do that you need to install a webmail client application to your virtual server. On your Virtualmin Dashboard follow and click the respective links on the left pane. Click “Virtualmin” and then “Install Scripts”.

Click the “Available Scripts” tab to view the list of the available applications that can be installed.

In the image above there is another webmail client “SquirrelMail” but we’re not going to opt for that.
Now to install RoundCube, click the appropriate radio button and click “Show Install Option”
This will lead you to the “Script install options” where you can configure in what directory you want to install your RoundCube source code.
By default, this resides in the “public_html” of the Virtual Server and it will be under the “roundcube” directory as shown in the image below.
You can modify this based on your preference i.e webmail, mail, e-mail etc.

Once you’ve done with the installation, RoundCube will appear in the Installed scripts tab. Clicking the install path will lead you to the appropriate URL of the email client.


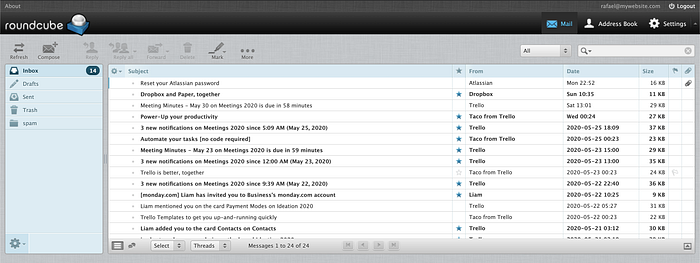
Once you logged in, it will lead you to the list of your emails.
Enabling password change option
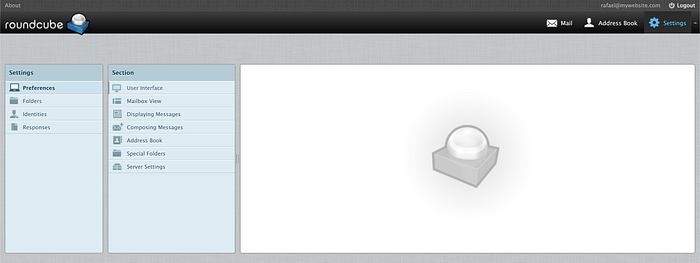
To check If the password plugin option is enabled. On the upper right corner of the page, click “Settings”. Under the Settings pane on the left, there should be a password menu. In this case, we don’t have it.
To enable the password option, log in to the Terminal via SSH login and locate your Roundcube installation on your virtual server. The installation path is similar to what I have below.
/mywebsite/public_html/roundcube/config/config.inc.phpOnce you opened it up in your Terminal, look for the line that has similar content.
Update the plugins array by adding “password” at the end. This will enable and show the options for the Roundcube users to change their password.
// List of active plugins (in plugins/ directory)
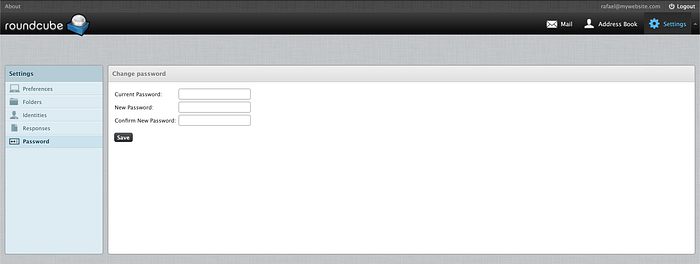
$config['plugins'] = array('virtuser_file','archive','zipdownload', 'password');Save and refresh your web browser where Roundcube is loaded.
Now you have enabled the change password option on your RoundCube Settings. Give it a try.
Error Logs
If updating a password doesn’t work we need to look for the logs. The RoundCube “errors” log is located in this directory.
/home/mywebsite/public_html/roundcube/logs/errorsDrivers
The logs generated by default is not meaningful, so we need to add some information to the errors log. To do that, open your Terminal and login via SSH. Go to this file directory, locate the file and open.
/home/mywebsite/public_html/roundcube/plugins/password/drivers/virtualmin.phpOn the file, find this line.
'message' => "Password plugin: Unable to execute $curdir/chgvirtualminpasswd"Modify it to look like the code block below, then save it.
'message' => "Password plugin: Unable to execute $curdir/chgvirtualminpasswd".print_r(array($output, $domain, $username, $newpass),true)On your Terminal try entering this command.
tail -f /home/mywebsite/public_html/roundcube/logs/errorsIt will give you a verbose view of what is happening behind during the password update.
Now on your browser where RoundCube is loaded, try to change your password again. Then observe the logs in the Terminal.
Additional Configurations
Possible errors are due to some additional configurations or misconfigurations.
Open the directory below in your Terminal.
/home/mywebsite/public_html/roundcube/plugins/passwordIt should contain the file “config.inc.php”. If it doesn’t exist, make a copy of the existing file config.inc.php.dist.
cp config.inc.php.dist config.inc.phpThen open it using your Terminal editor and look for the line below.
$config['password_driver'] = 'sql';Then, change it to the line below then save it.
$config['password_driver'] = 'virtualmin';Helpers
Helpers are source codes written in C that needs to be compiled and configured so that it can be used. The Password plugin helper is located here.
/home/mywebsite/public_html/roundcube/plugins/password/helpersWe need to compile the helper C source code file chgvirtualminpasswd.c. Inside this file, there are instructions to install it. Change the root.mywebsite according to your setup.
/* INSTALLING:
gcc -o chgvirtualminpasswd chgvirtualminpasswd.c
chown root.mywebsite chgvirtualminpasswd
strip chgvirtualminpasswd
chmod 4550 chgvirtualminpasswd
*/
Now you’re done. Go to your browser again where RoundCube is loaded and try to change the password. If it doesn't work look for the logs using the Terminal.
